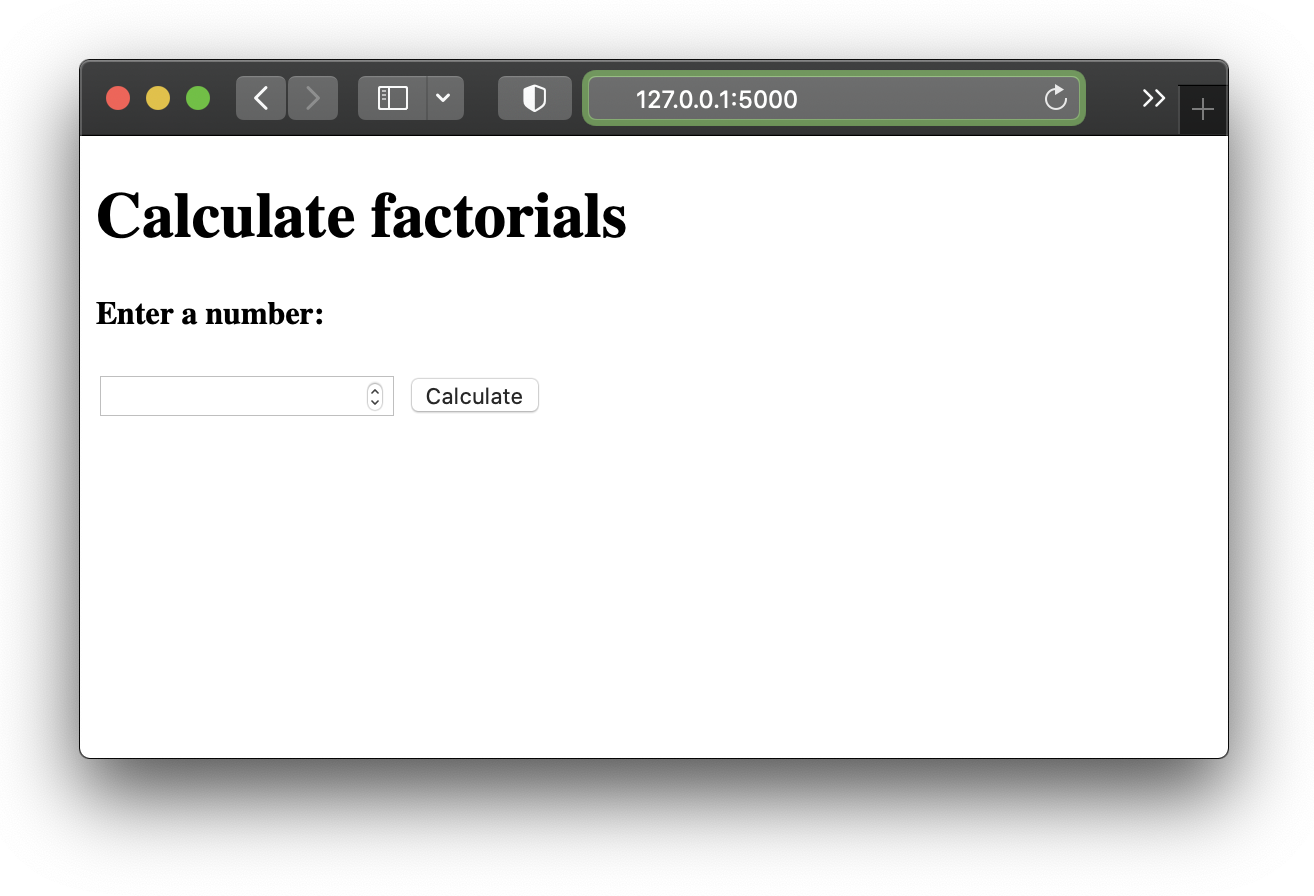
It never hurts to have a basic example for a quick WebApp to deploy onto a container service. Here’s one for a Python app, using Flask, Docker and Gunicorn.
Folder structure
To get started we create the following structure (it’s ok to leave the files empty, we’ll fill them during the next few instructions):
.
├── Dockerfile                     # Instruction for building the docker image
├── app
│   ├── app.py                     # Actual python source
│   ├── templates
│   │   └── factorial-form.html    # Template for HTML used in the WebApp
│   └── tests
│       ├── __init__.py
│       └── test_app.py            # Simple tests for the webapp
└── requirements.txt               # Required packages
After this we can get started with the Python code.
Writing the Flask app
If you’ve never used Flask before, checkout the docs. It’s a micro web framework, making it super easy to build a WebApp.
Our app.py will look like this:
"""Main flask module."""
import math
from flask import Flask, render_template, request

app = Flask(__name__)


@app.route('/')
def factorial_form():
    """Renders main input page."""
    return render_template('factorial-form.html')

@app.route('/', methods=['POST'])
def form_post():
    """Calculates and returns factorial of input."""
    inp = int(request.form['Factorial'])
    fac = math.factorial(inp)
    return f"The factorial of {inp} is {fac}."


if __name__ == '__main__':
    app.run()
The first function creates the main page from the template file
<!DOCTYPE html>
<html lang="en">
<head>
    <meta charset="UTF-8">
    <title>FactorialApp</title>
</head>
<body>
    <h1>Calculate factorials</h1>
    <h4>Enter a number:<h4>
    <form method="POST">
        <input type="number" name="Factorial" min="0" required>
        <input type="submit" value="Calculate">
    </form>
</body>
</html>
which is basically just a form taking a single number as an input.
The second function of app.py receives the input from the POST request, calculates the factorial, the product of
all positive integers less than or equal to the input. E.g. the factorial of 5 would be 54321=120.
The calculated number is then returned as part of a string, to create the output page.
To test this code you can simply run
flask run
and then you can see the App running on http://127.0.0.1:5000/.
Testing
We use pytest for testing, and add a few simple unit tests.
import app
import json
import pytest

@pytest.fixture
def client():
    client = app.app.test_client()
    return client

def test_home_page(client):
    """
    GIVEN an app configured for testing
    WHEN the '/' page is requested (GET)
    THEN check response is valid and correct
    """
    response = client.get('/')
    assert response.status_code == 200
    assert b"Enter a number:" in response.data

def test_home_page_post(client):
    """
    GIVEN an app configured for testing
    WHEN the '/' page is is posted to without num (POST)
    THEN check that an error is returned
    """
    response = client.post('/')
    print(response.data)
    assert response.status_code == 400
    assert b"The factorial of" not in response.data

def test_home_page_post_number(client):
    """
    GIVEN an app configured for testing
    WHEN the '/' page is is posted to with a number (POST)
    THEN check that its factorial is returned
    """
    headers={'Content-Type': 'application/x-www-form-urlencoded'}
    response = client.post(
                '/',
                data="Factorial=5",
                headers=headers,
            )
    assert response.data == b"The factorial of 5 is 120."
First we need a fixture to create the client to run the tests against (think of it like an instance of your app). Then we try to see if the webpage is up and contains some of the HTML of the template.
The second test simply checks if a false POST receives the error we want (no input, no result).
The third test checks if the calculation returns the expected result for a specific input.
To run the tests
pytest -v
and you should receive an output like
============================================ test session starts ============================================
platform darwin -- Python 3.9.9, pytest-6.2.5, py-1.11.0, pluggy-1.0.0 -- /usr/local/opt/python@3.9/bin/python3.9
cachedir: .pytest_cache
rootdir: /Path/To/App
plugins: dash-2.0.0
collected 3 items

tests/test_app.py::test_home_page PASSED                                                              [ 33%]
tests/test_app.py::test_home_page_post PASSED                                                         [ 66%]
tests/test_app.py::test_home_page_post_number PASSED                                                  [100%]

============================================= 3 passed in 0.04s =============================================
Dockerize
After finishing our app, we can get started on creating the Dockerfile.
# base image to build
FROM python:3.7 as builder
RUN mkdir /install
WORKDIR /install
COPY requirements.txt /requirements.txt
RUN pip install -r /requirements.txt --target=/install

# smaller image to run
FROM python:3.7-alpine
COPY --from=builder /install /usr/local
COPY app /app
WORKDIR /app
ENV PYTHONPATH="${PYTHONPATH}:/usr/local"
EXPOSE 5000
CMD ["gunicorn", "-w 4", "-b 0.0.0.0:5000", "app:app"]
The first image create is the builder image, where we later copy our necessary python packages from. This is a multi-stage Dockerfile, so you’ll end up with a smaller image in the end. We’re using gunicorn as a production server for Python.
Then you simply build and run it
docker build -t factorialWebApp:v0.1 .
docker run -it -p 5000:5000 factorialWebApp:v0.1
And your WebApp in now running on http://127.0.0.1:5000!
